14 July 2014 by Remco Bouckaert
Requires the model-selection package version 1.0.2 or better. See here how to manage packages.
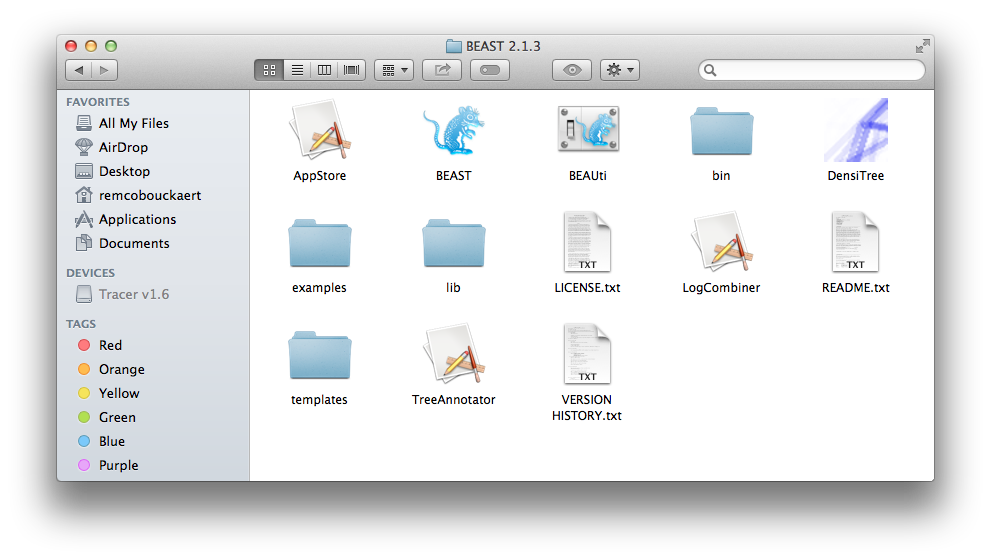
Instead of editing the XML, as explained in the BEAST website, a path sampling, or stepping stone analysis can be set up using a GUI as well. First, launch the appstore — there should be an icon labelled ‘AppStore’ when BEAST is installed, just double click that.
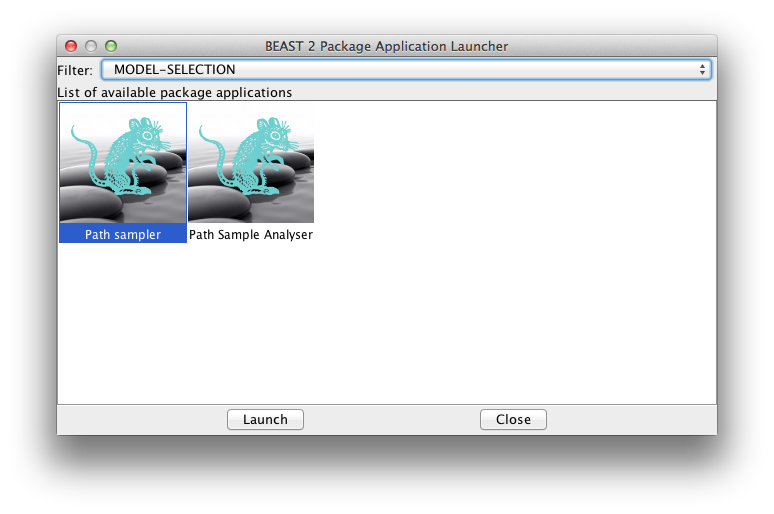
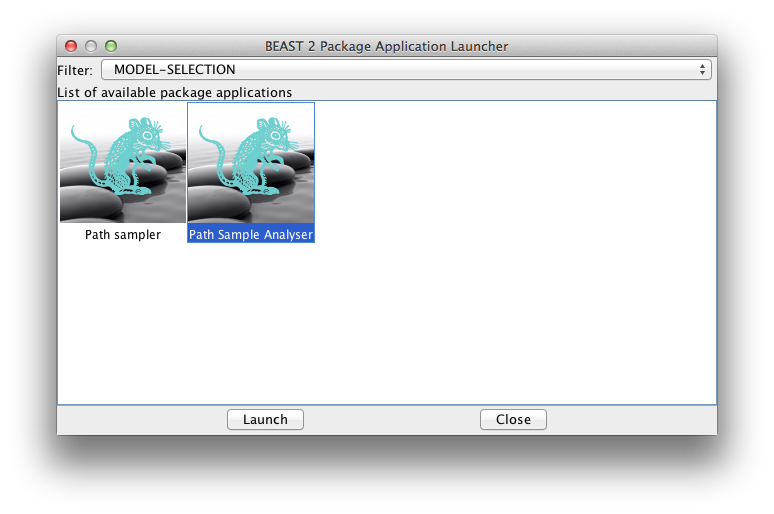
When you filter applications on MODEL-SELECTION using the drop-down box at the top of the AppStore, there should be an icon labelled Path Sampler and another labelled Path Sample Analysis. Launch the Path Sampler by double clicking the icon.
A dialog pops up showing a range of options for setting up the path sampling or stepping stone analysis. As you can see, one of the inputs called Model1 is the XML file containing the BEAST analysis for which you want to estimate the marginal likelihood. Here we selected normalTest-1.xml which is in the examples directory of the MODEL-SELECTION package.
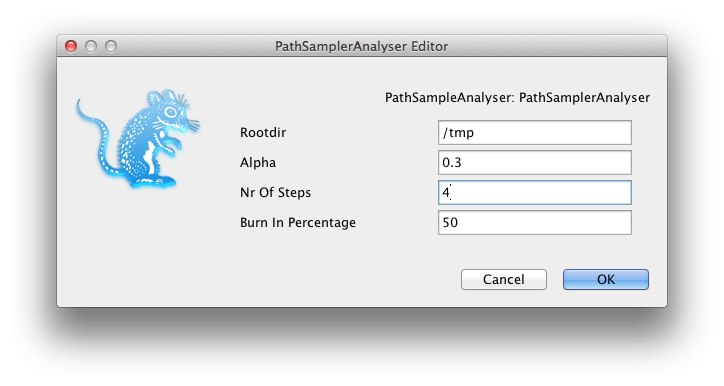
Set the other parameters as appropriate. Note that in this screen-shot we chose 4 steps just to ran it fast, but that does not mean that 4 steps is sufficient. You want to keep increasing the number of steps till the marginal likelihood estimate remains constant. There is no rule of thumb other than this to find the number of steps as far as I know.
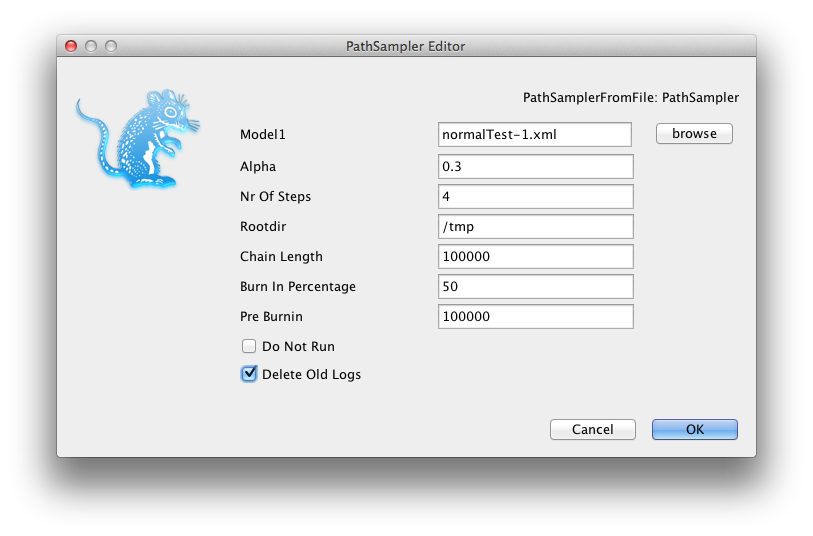
If you already ran a path sampling analysis before, you want to overwrite the log files, and click the “Delete old logs” check box.
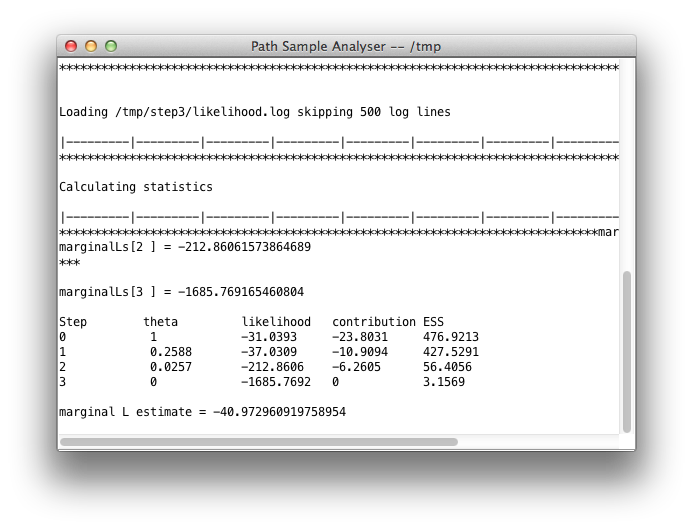
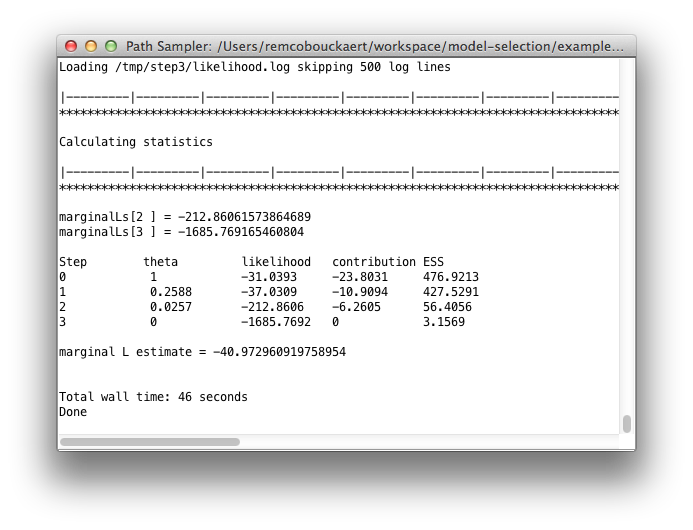
Once you click OK, the analysis is started (if you left the Do Not Run check-box unchecked) and a window pops up showing progress of the analysis. At the end, the marginal likelihood estimate is printed:
If you selected “Do not run”, all files and directories will be created, but the analysis is not run yet. You can run them by kicking of the run.sh/run.bat scripts (depending on your operating system). Once the analysis is run — or for some steps re-run if something went wrong — you need to start the path-sample analyser to calculate the ML estimate from the individual steps. This is easy — from the AppStore launch the path-sampling analyser:
A window pops up where you can specify the same path sampling parameters as used for the analysis:
When you click OK, a window pops up where after a little while the marginal likelihood estimate is printed:
